
How to Plan a Travel Itinerary with Travaa
itinerary: a planned route or journey - Google
Welcome and hello!
One of the best things to have with you as you head off on a trip overseas or in a new city is undoubtably .. yes, you've guessed it - a travel itinerary! For me, this is the most important document next to my credit cards, passport, cash and tickets. Why? Because, in the case of pure forgetfulness, everything else I can probably get there. Unless you are a full time digital nomad or doing an extended stay, time at a destination is precious. It's great knowing where to go and what to do. I like to hit the ground running.
In this article, we will walk through the steps to get from zero to a fully-fleshed-out hero travel itinerary using my all time favourite travel itinerary planner tool - Travaa!
Planning a trip to anywhere in the world with this tool and app is both fun and easy.
1. Travel Itinerary Planner | Travaa.com
Let's head over to the travel itinerary planner website.

Hit that big red Start button.
Sign up and let's get inside.
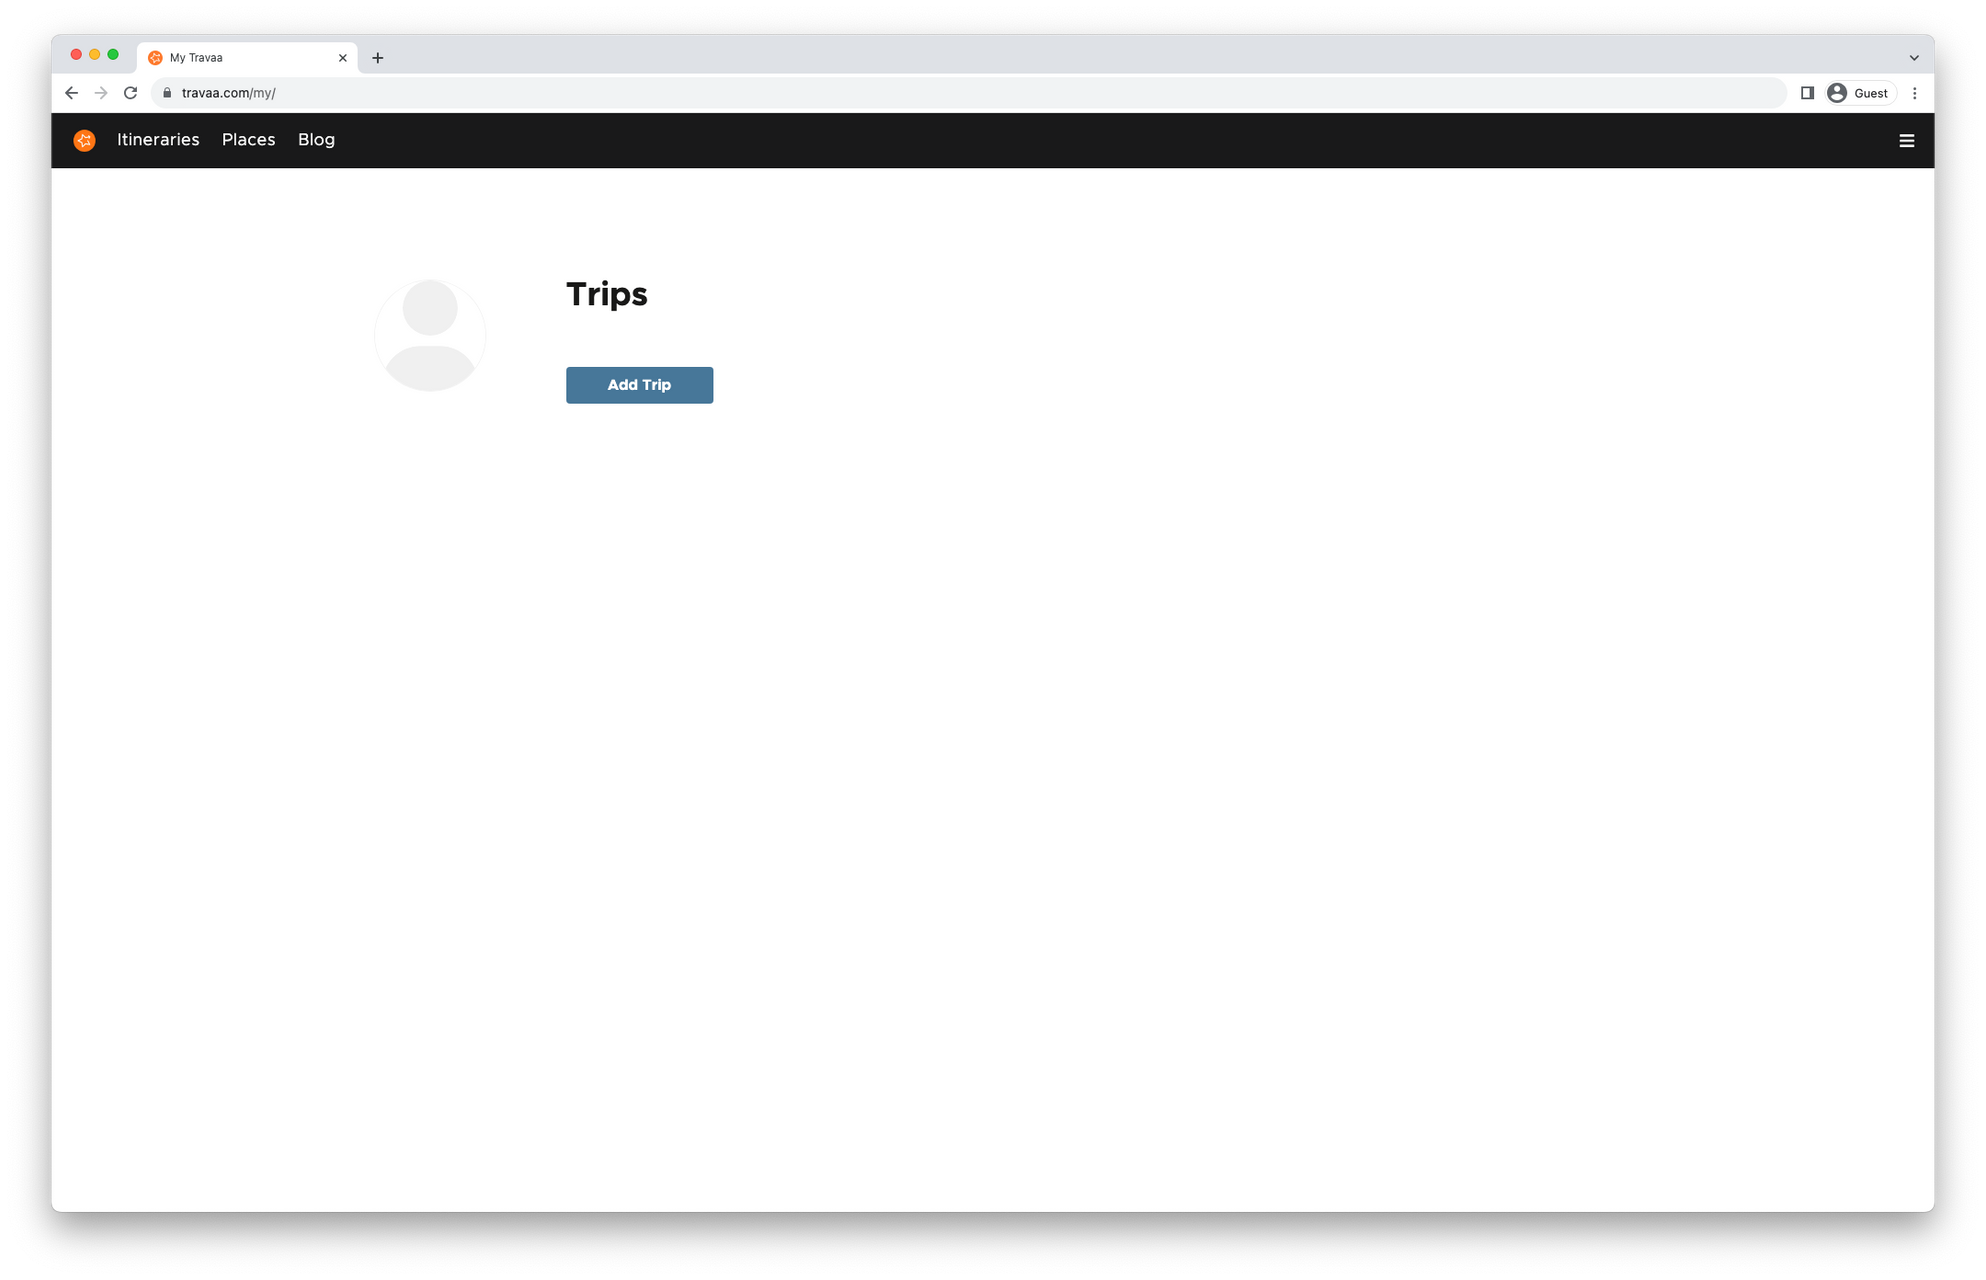
Click Add Trip.
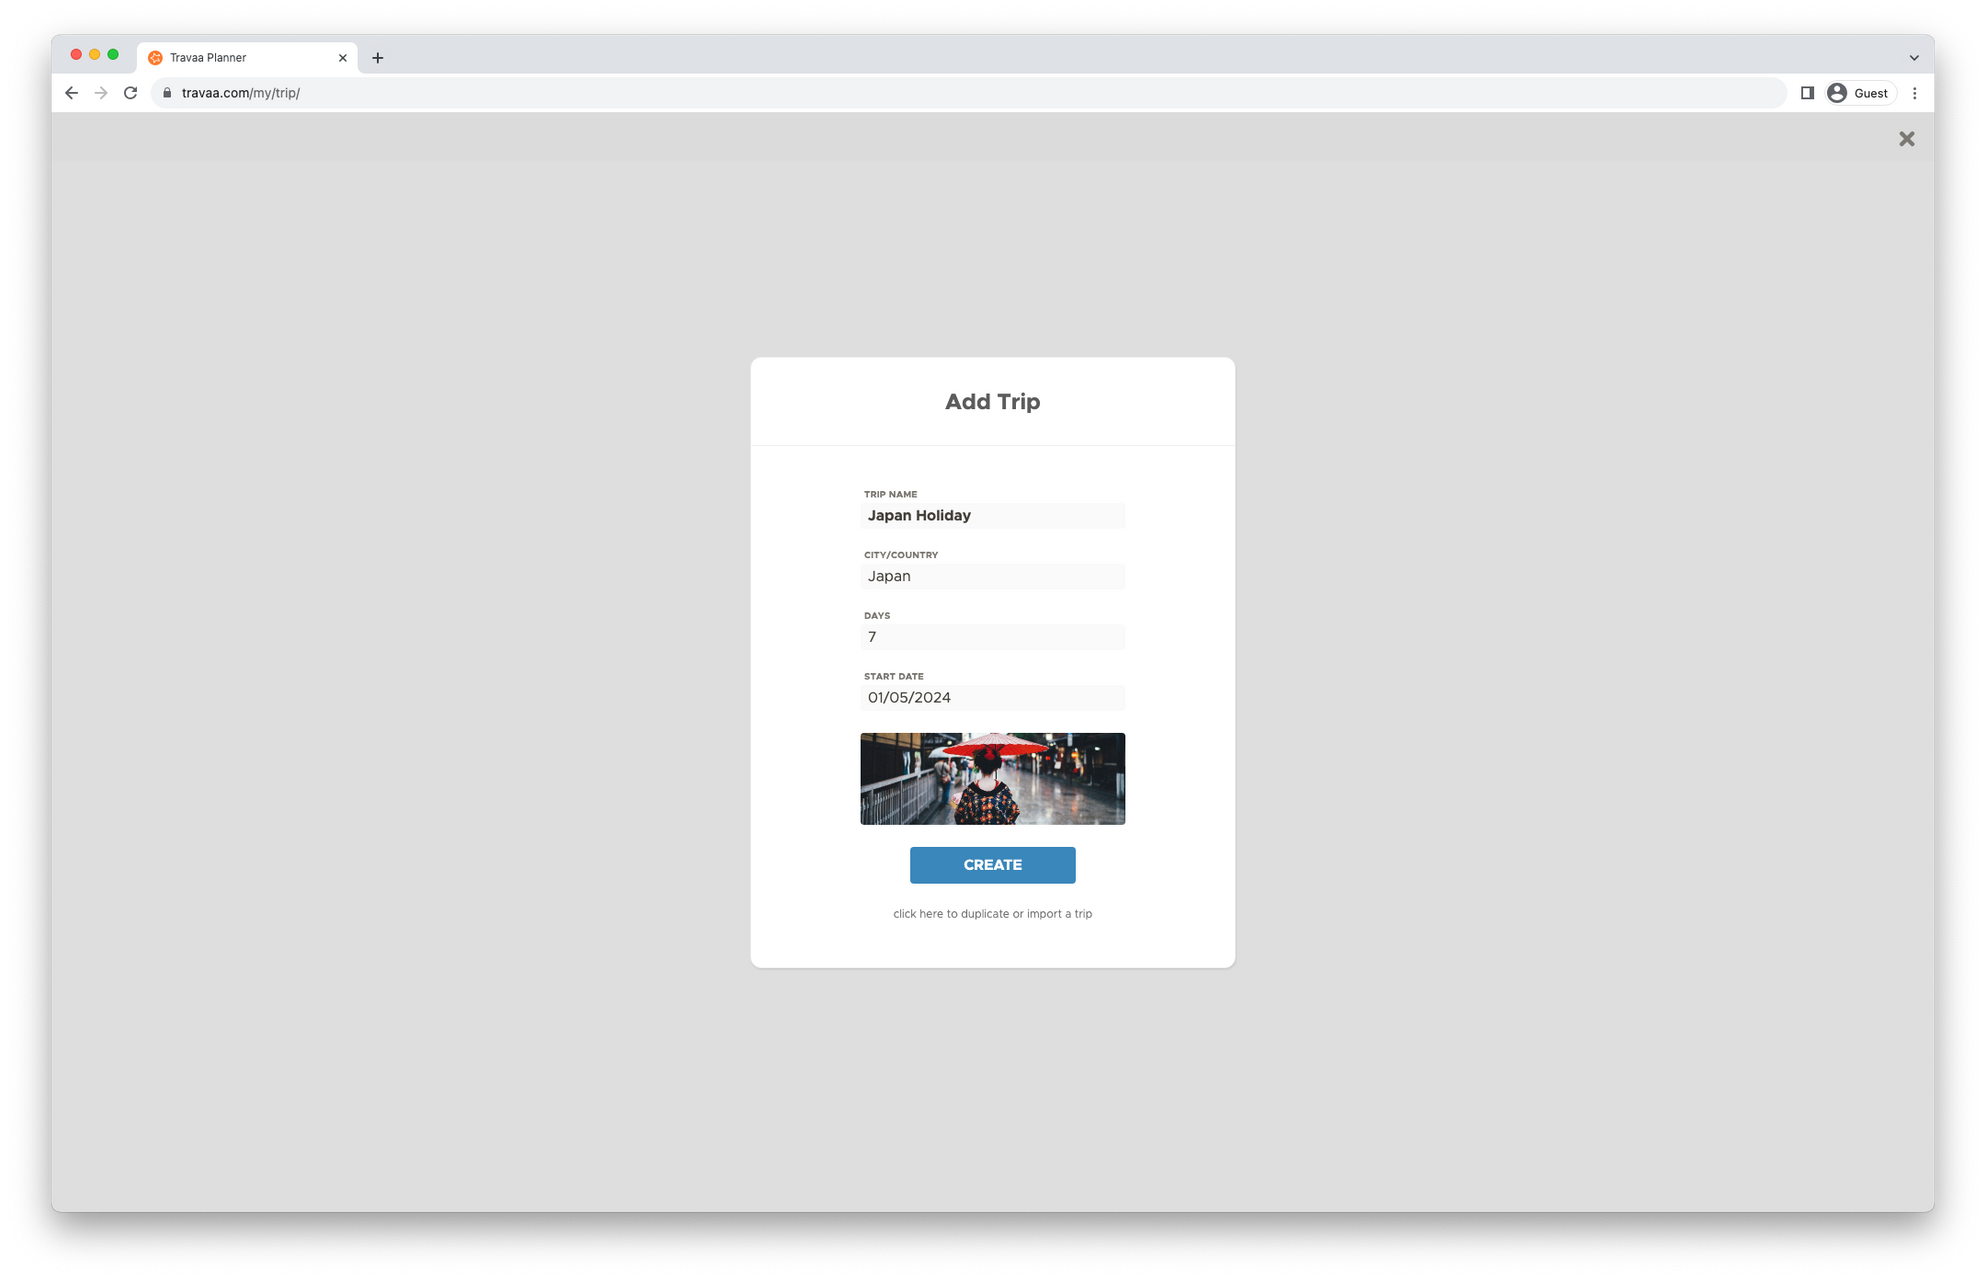
Enter your destination, dates and select a cover photo.
If you use Tripit, you can also import your trip from there.
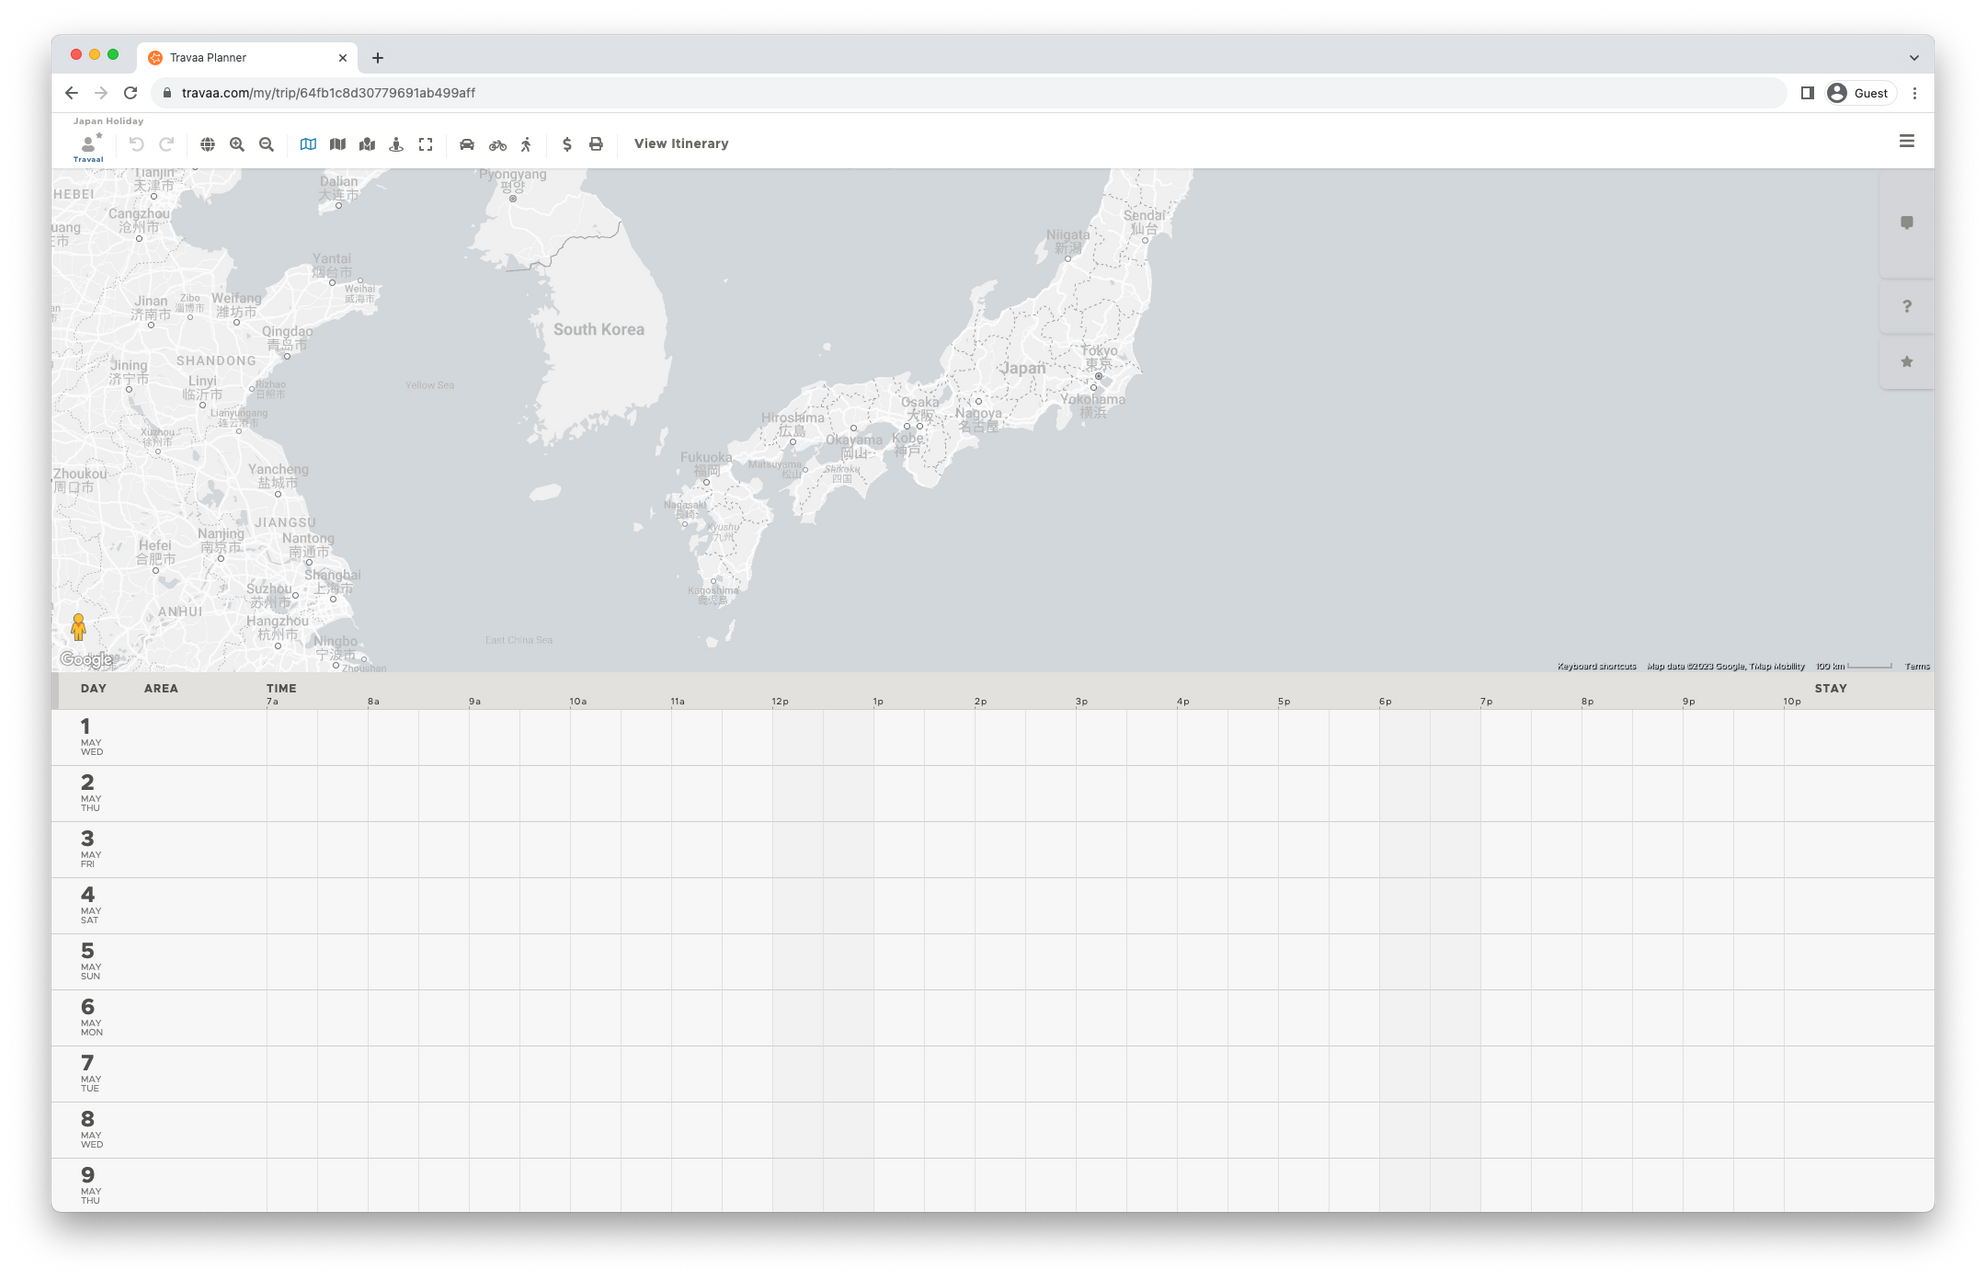
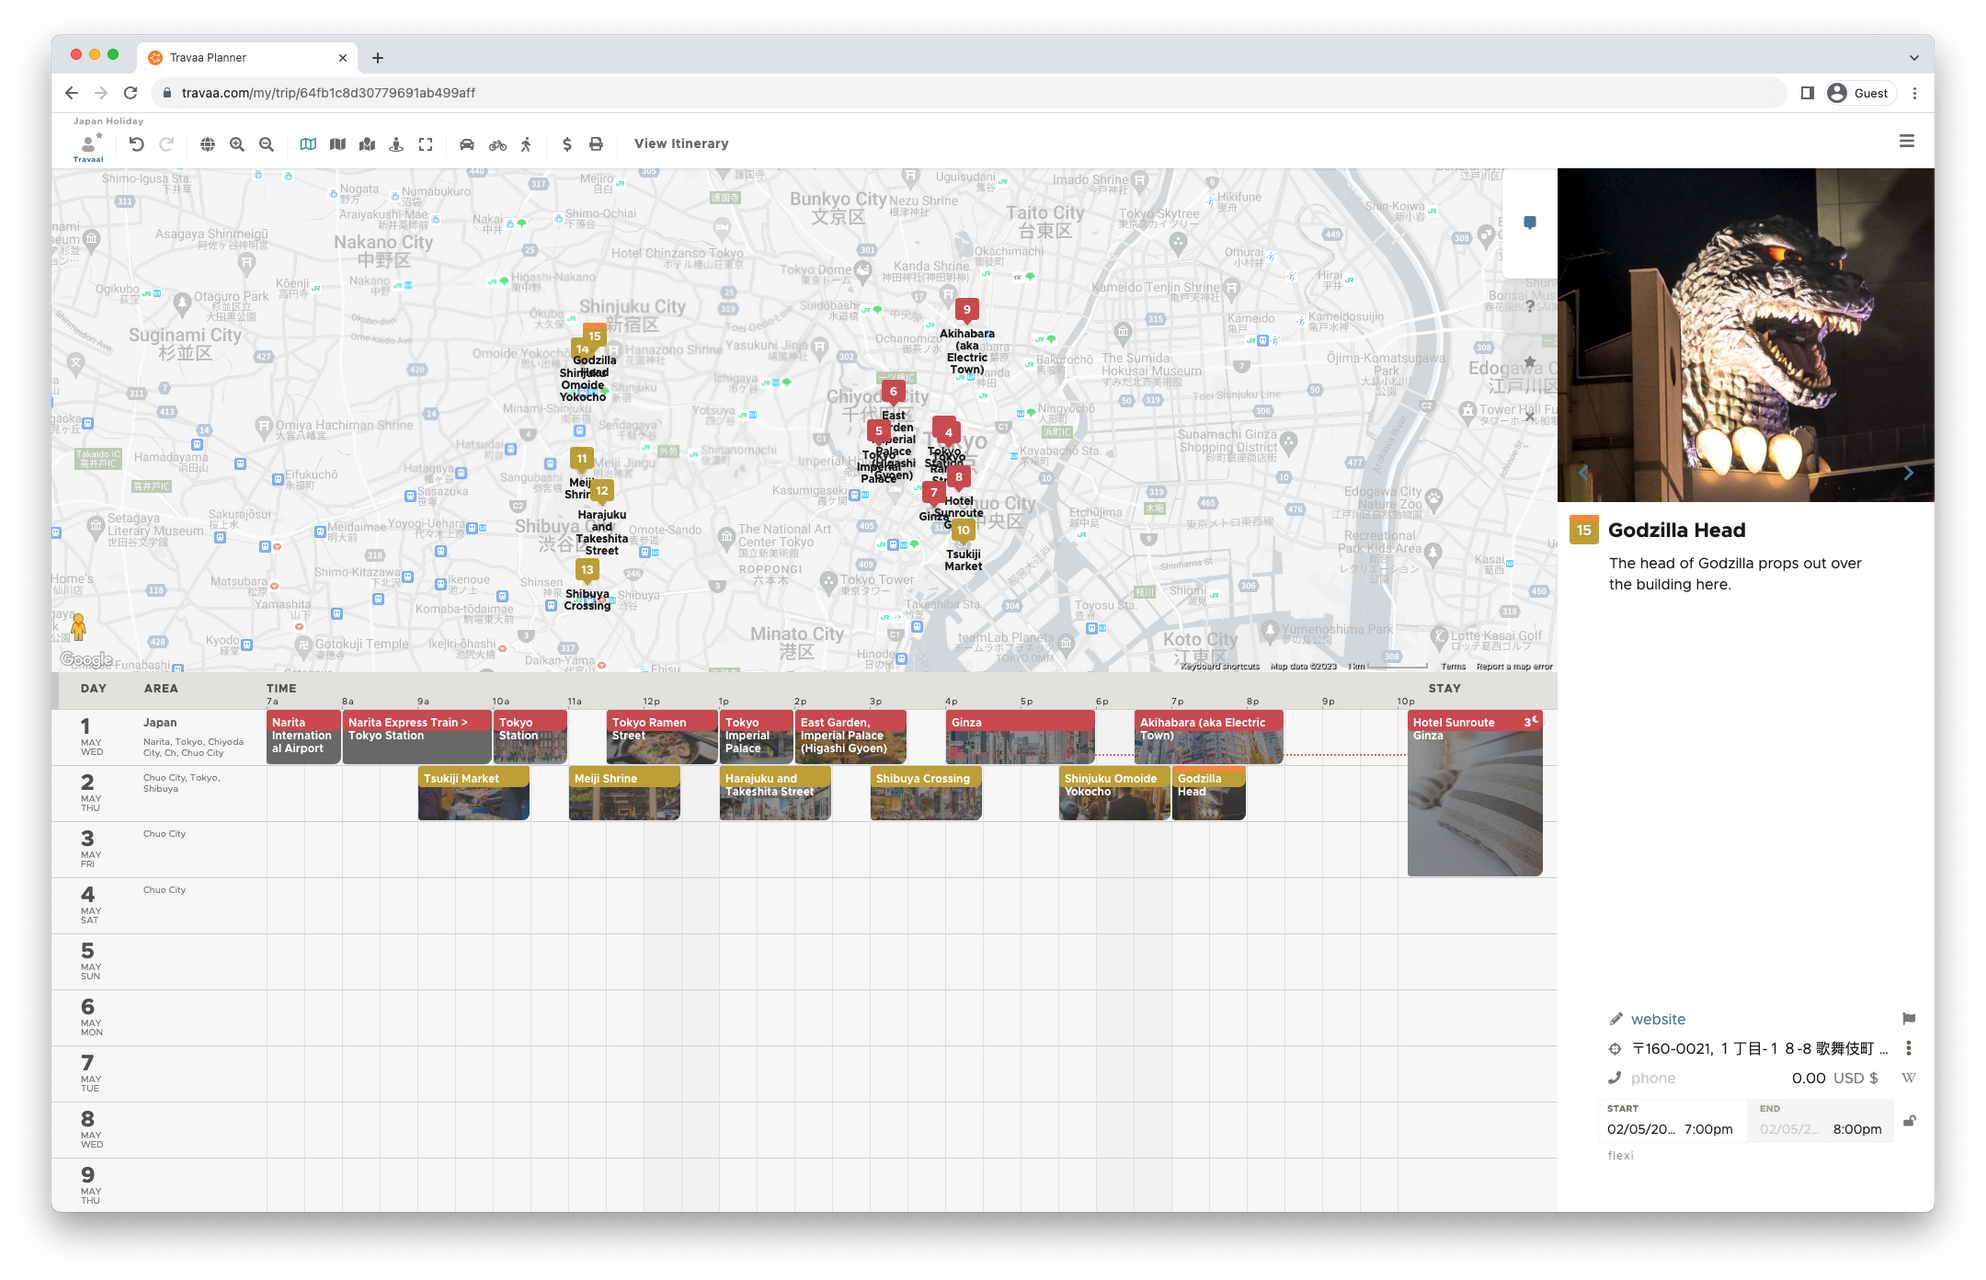
A clean fresh new canvas appears. You are ready start painting your trip.
Feel free to follow the short "Tour" pop-up to get up to speed quickly with the key features of this tool.
Let's add your first place ..
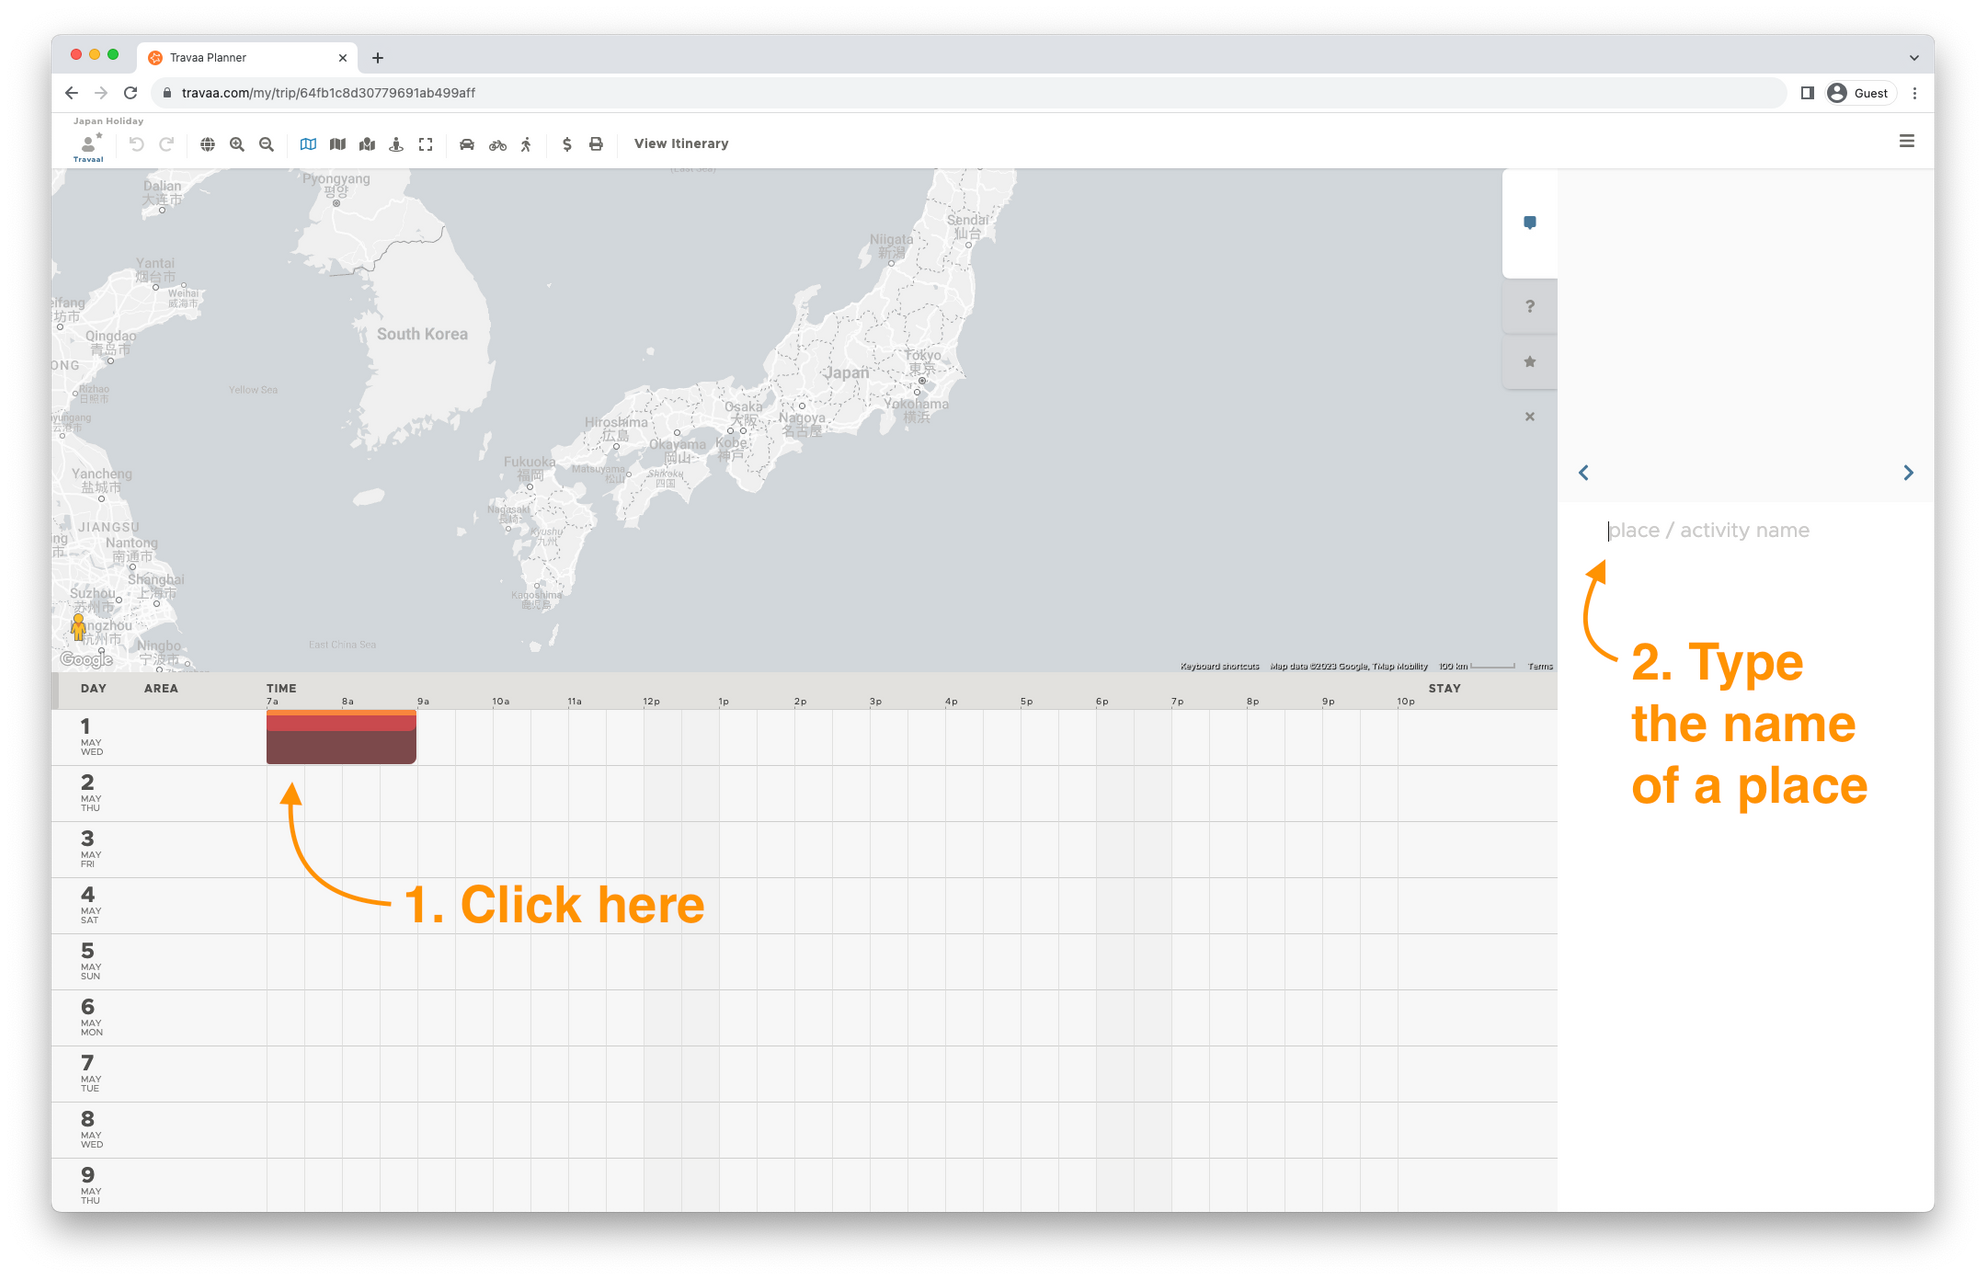
1. Click on a time slot on the day-by-day calendar and, 2. start typing the name of a place you plan to visit.
Notice how a list of matching places appears? Select a place and its remaining information is filled in on the card.
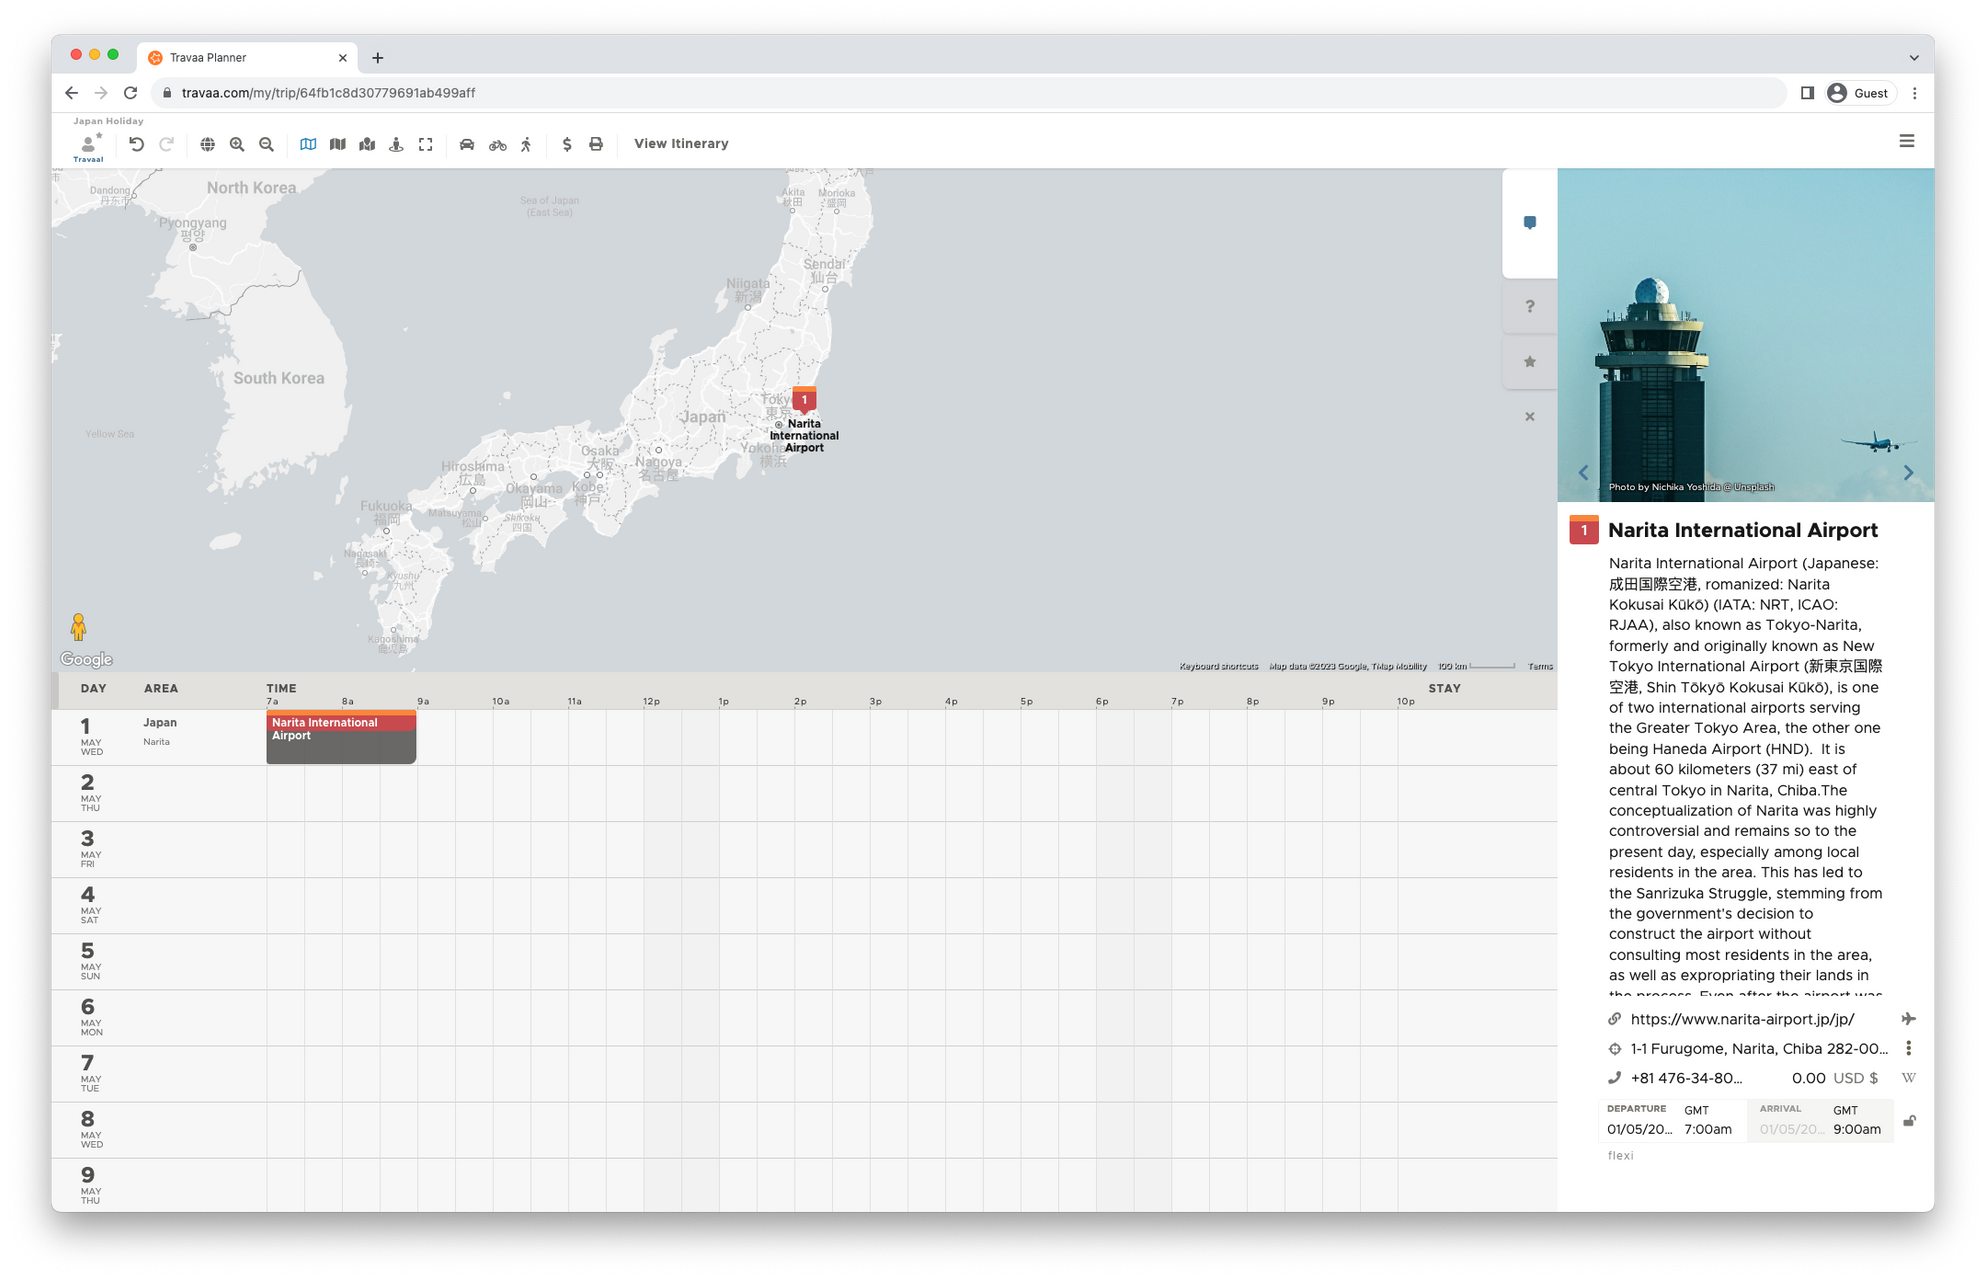
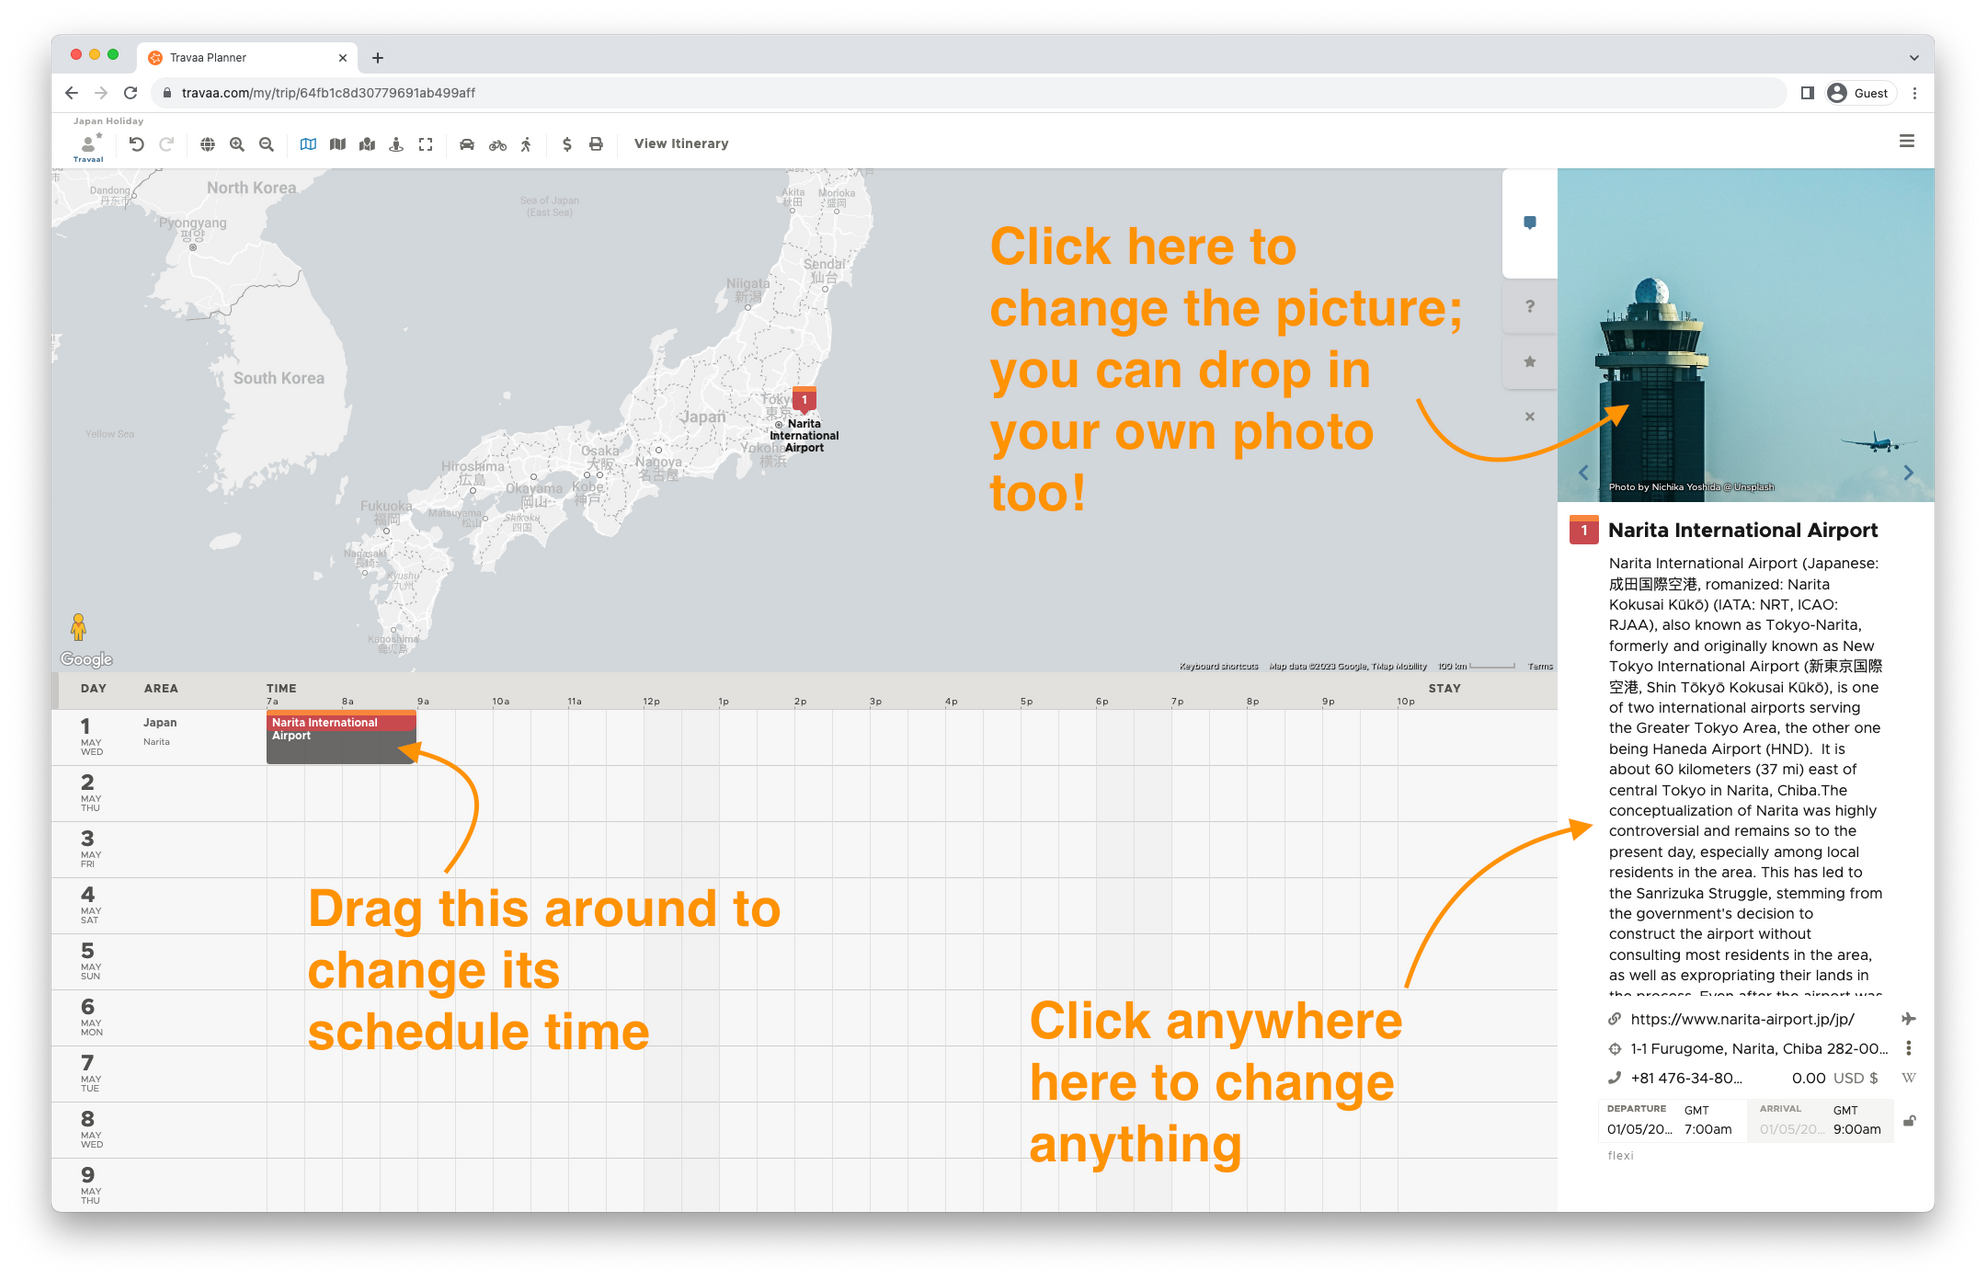
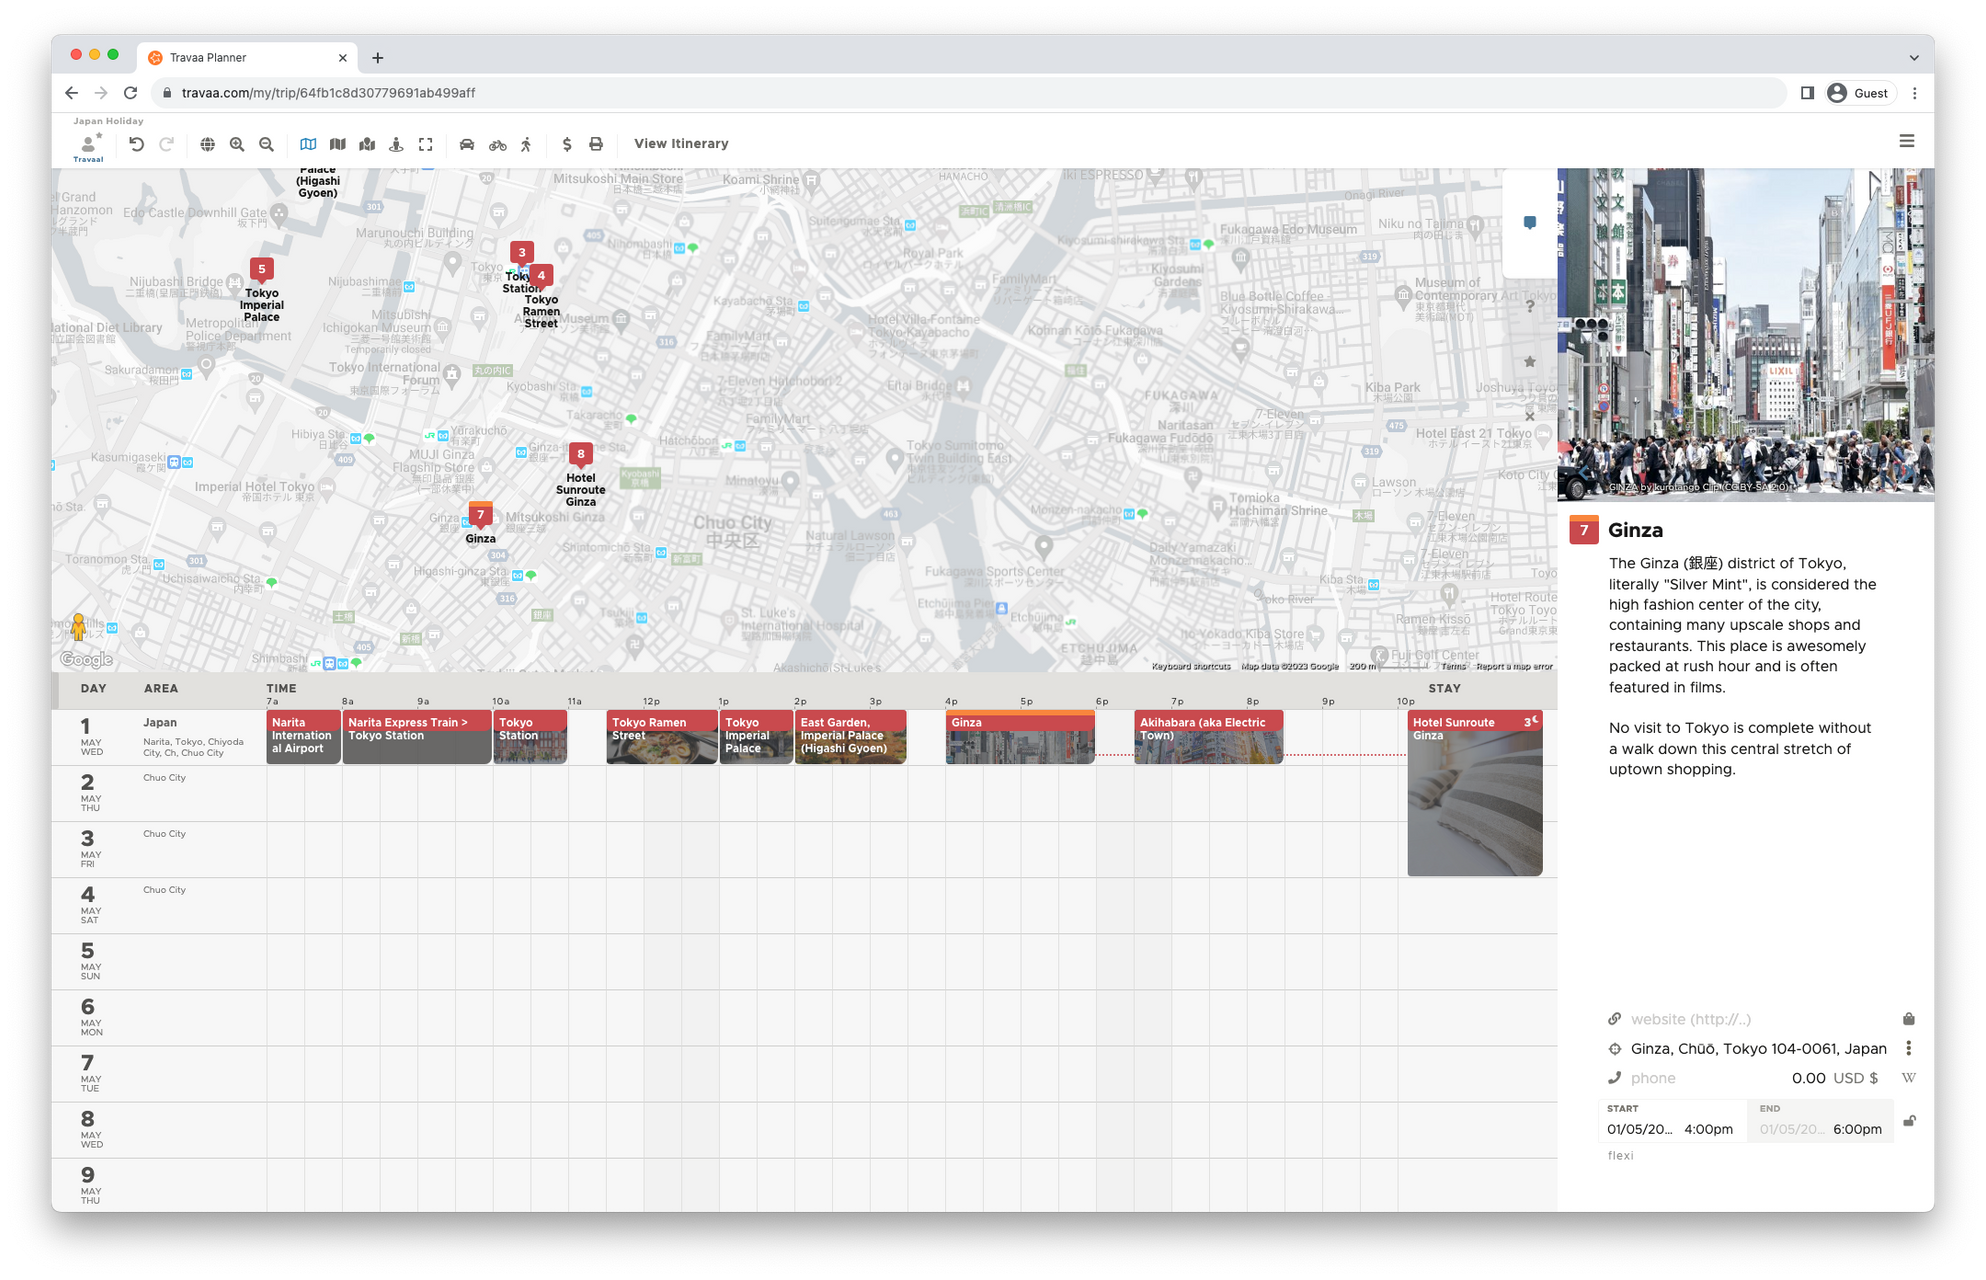
Click on the calendar/schedule and add more places to visit. Move stuff around the calendar. It's fun!
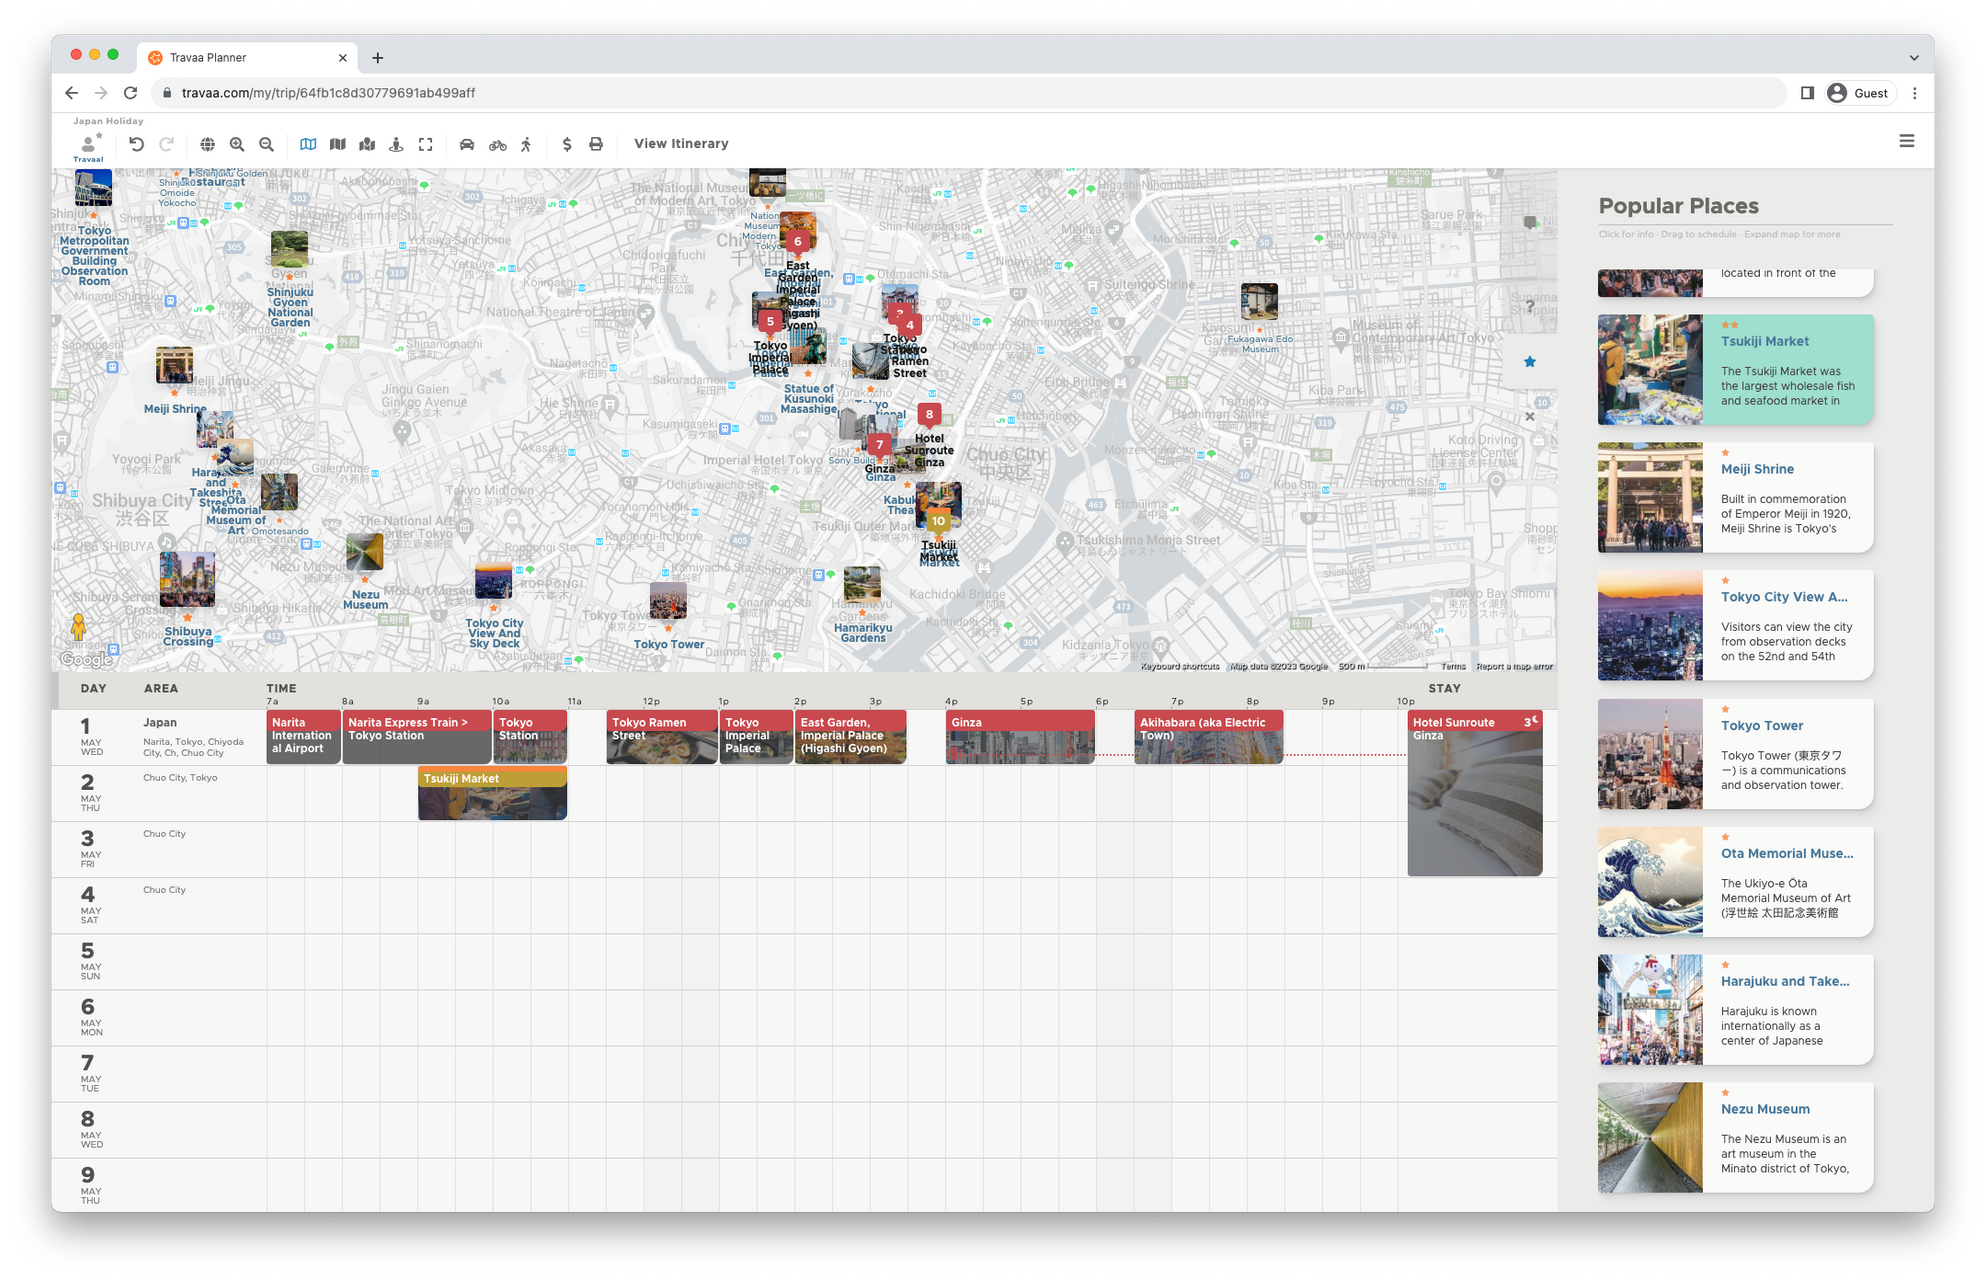
For some cities, you can find world class attractions from the Places right-hand-side panel. Click a place to get more detailed information. Drag-and-drop these straight from that panel onto your calendar. A green highlight indicates that the place is already on your schedule.
Very soon, you will have a fairly decent itinerary fleshed out.
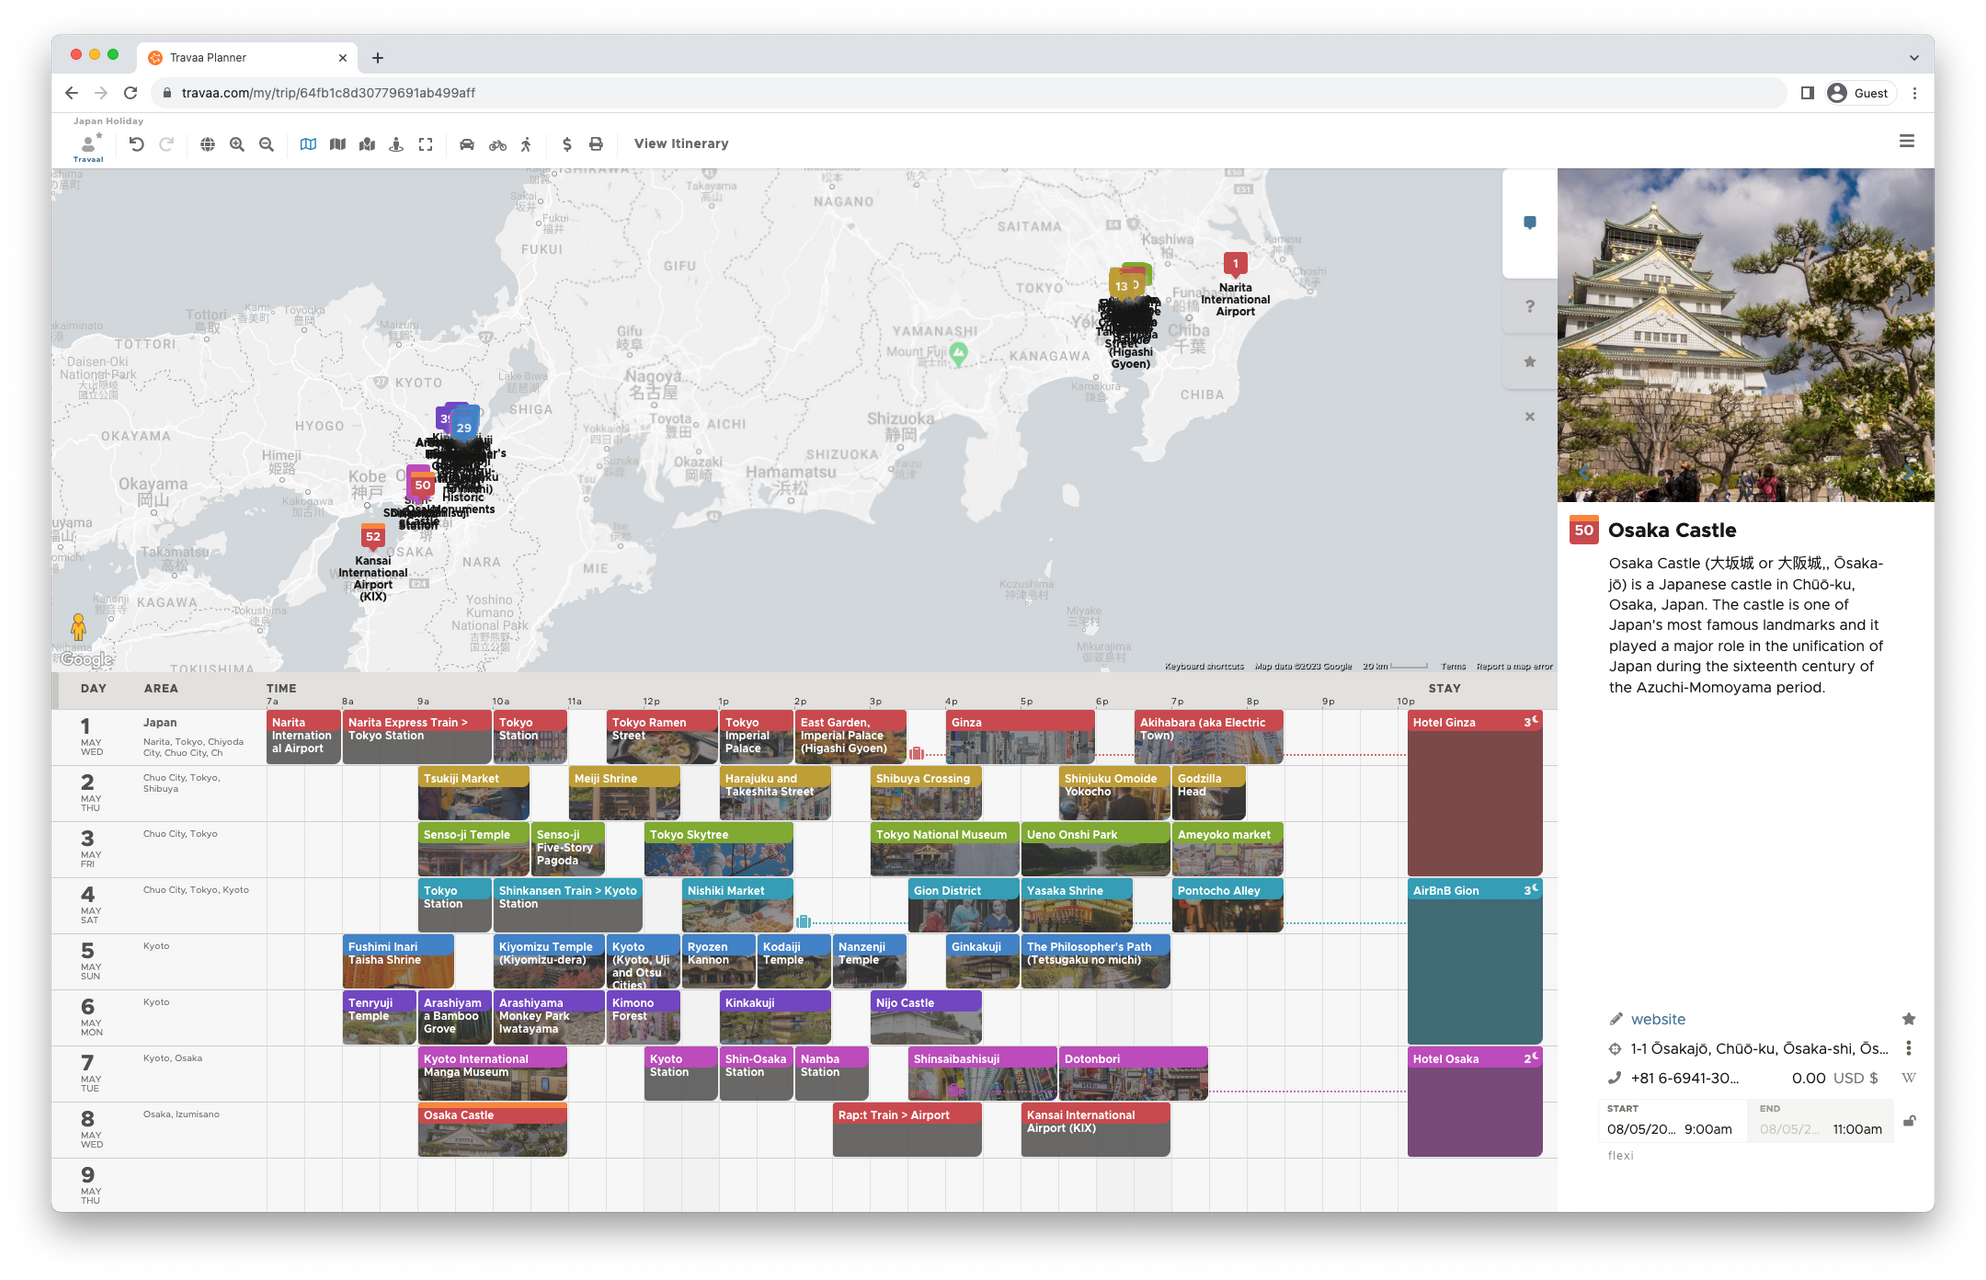
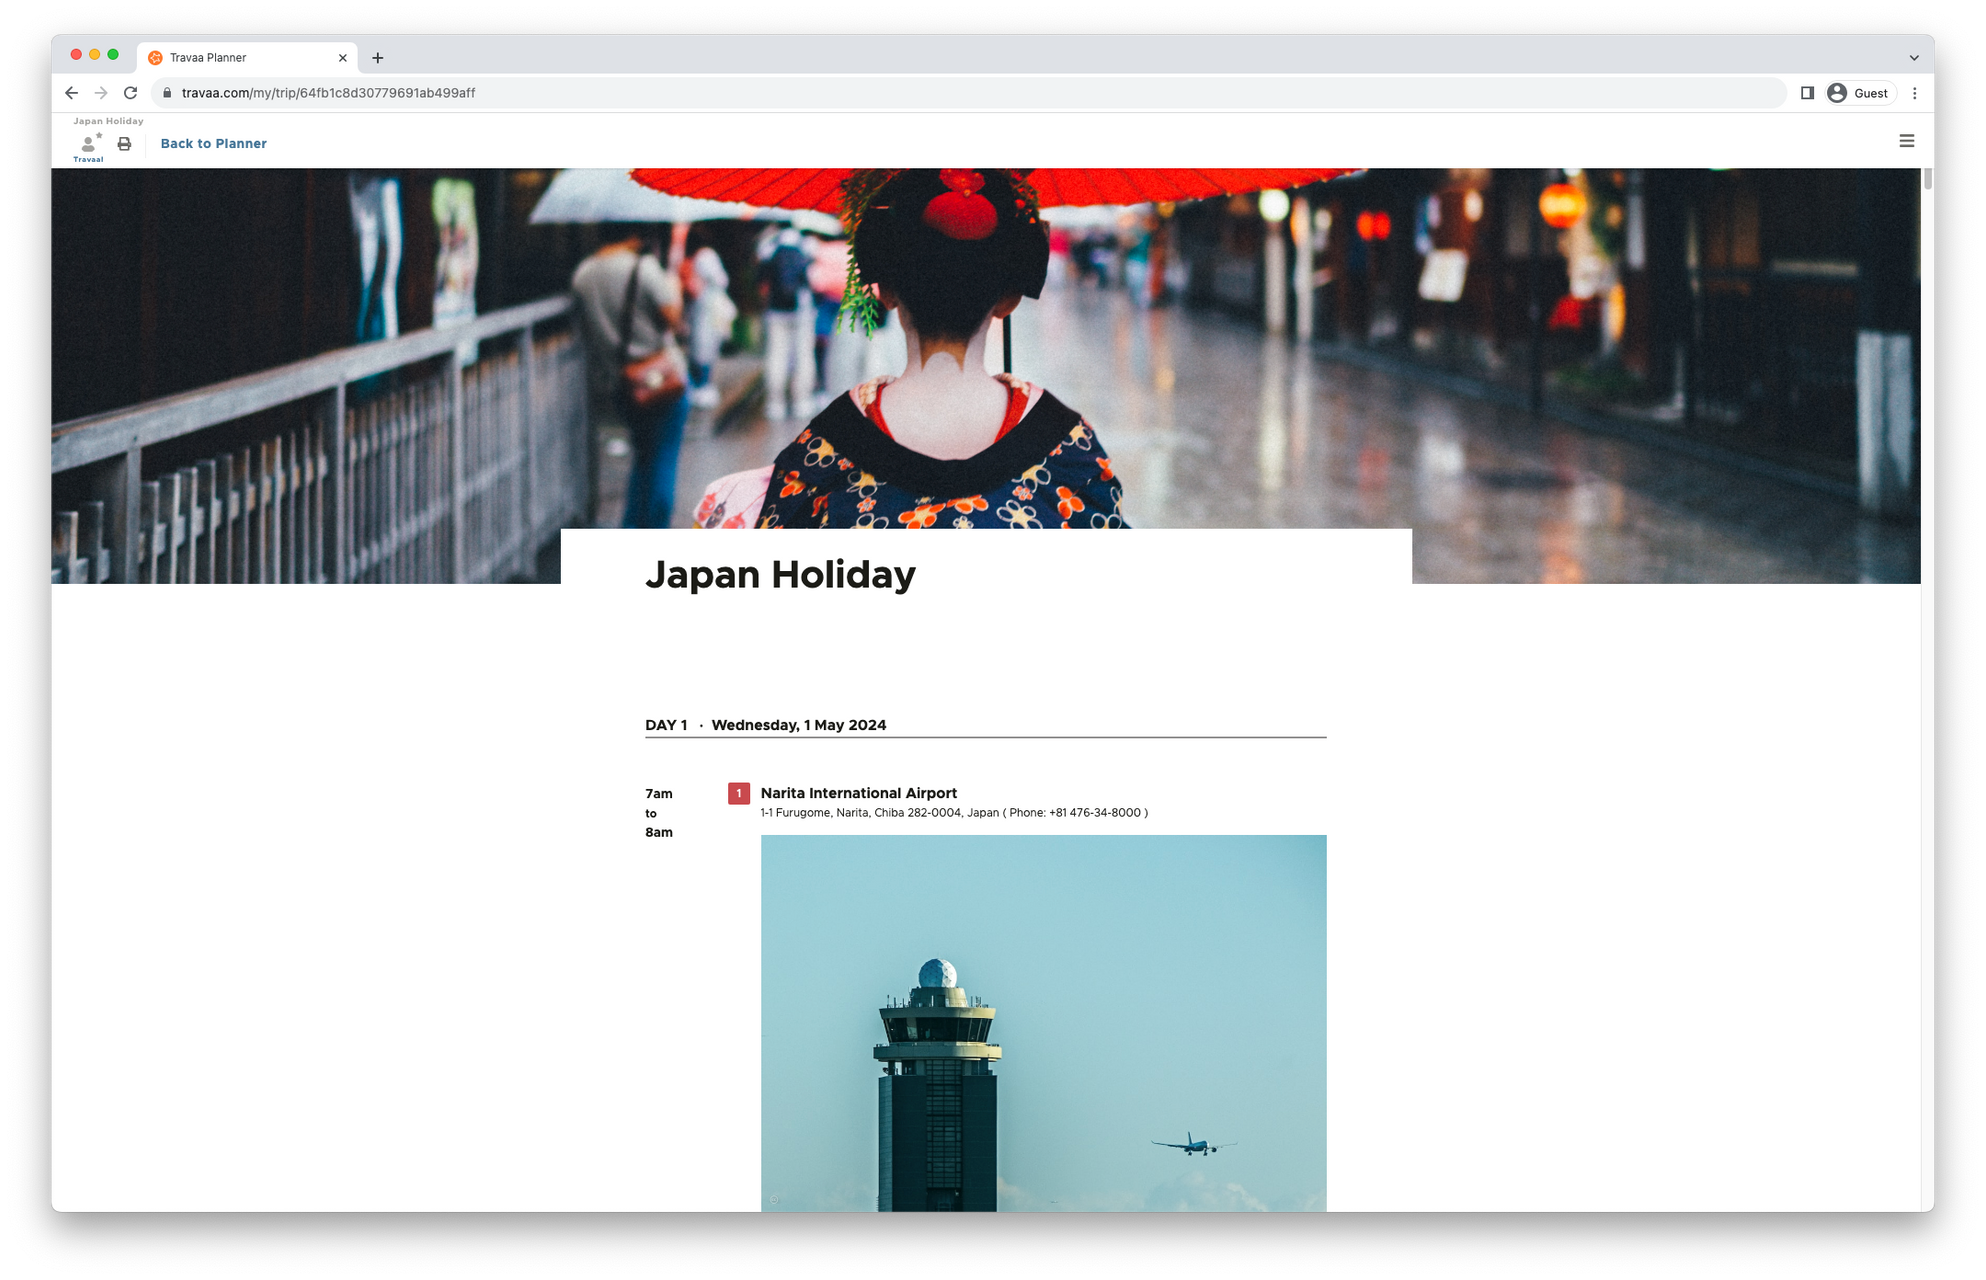
Click View Itinerary (in top bar) to view your itinerary in a top-down format.
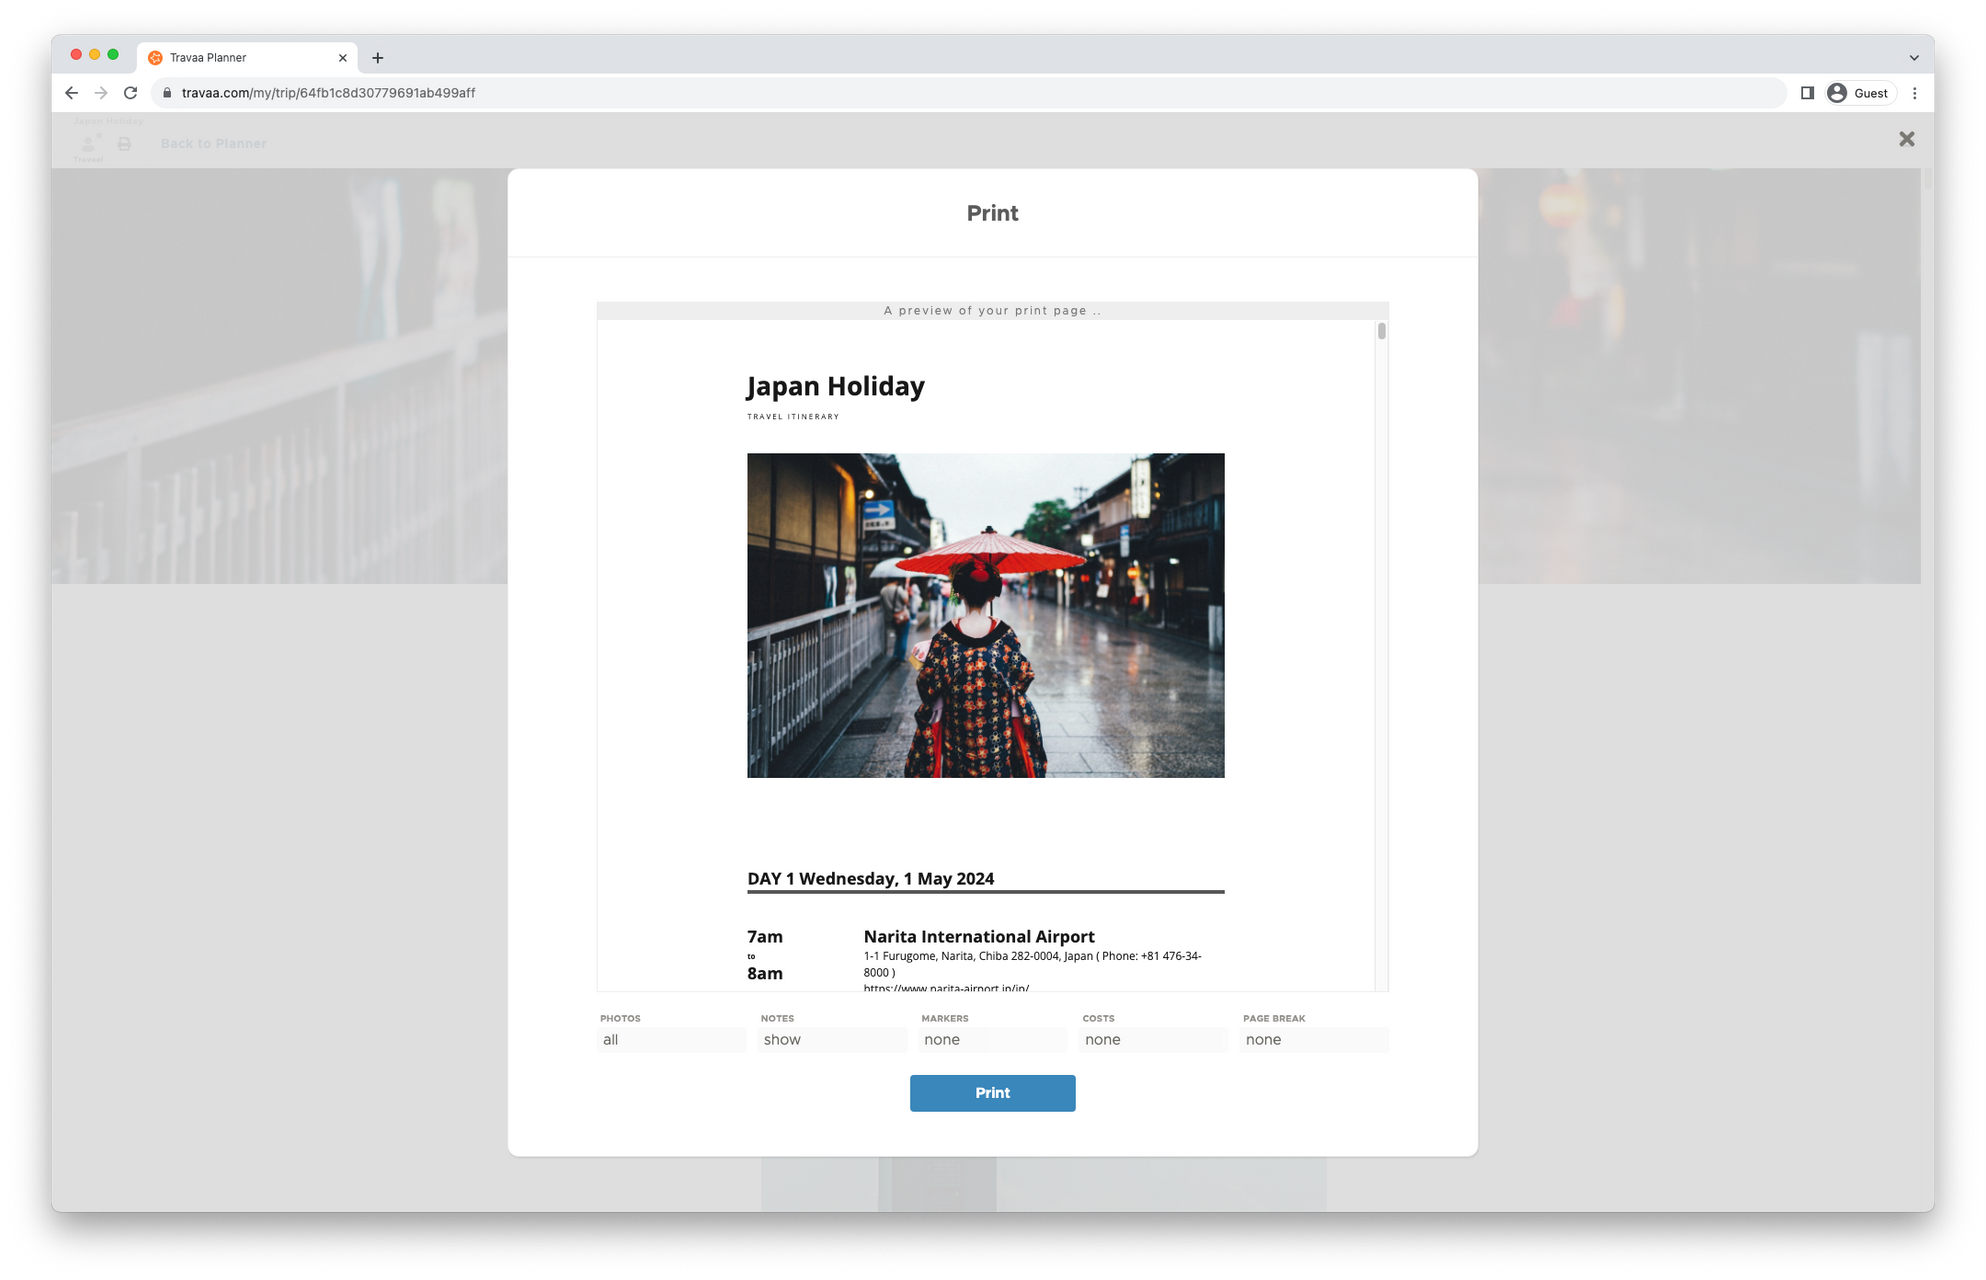
Click Print, to email yourself a PDF copy or send it to your printer.
Use the button (at top-right) to close off any dialogs.
There are plenty of other more advanced features in the button (at top-right).
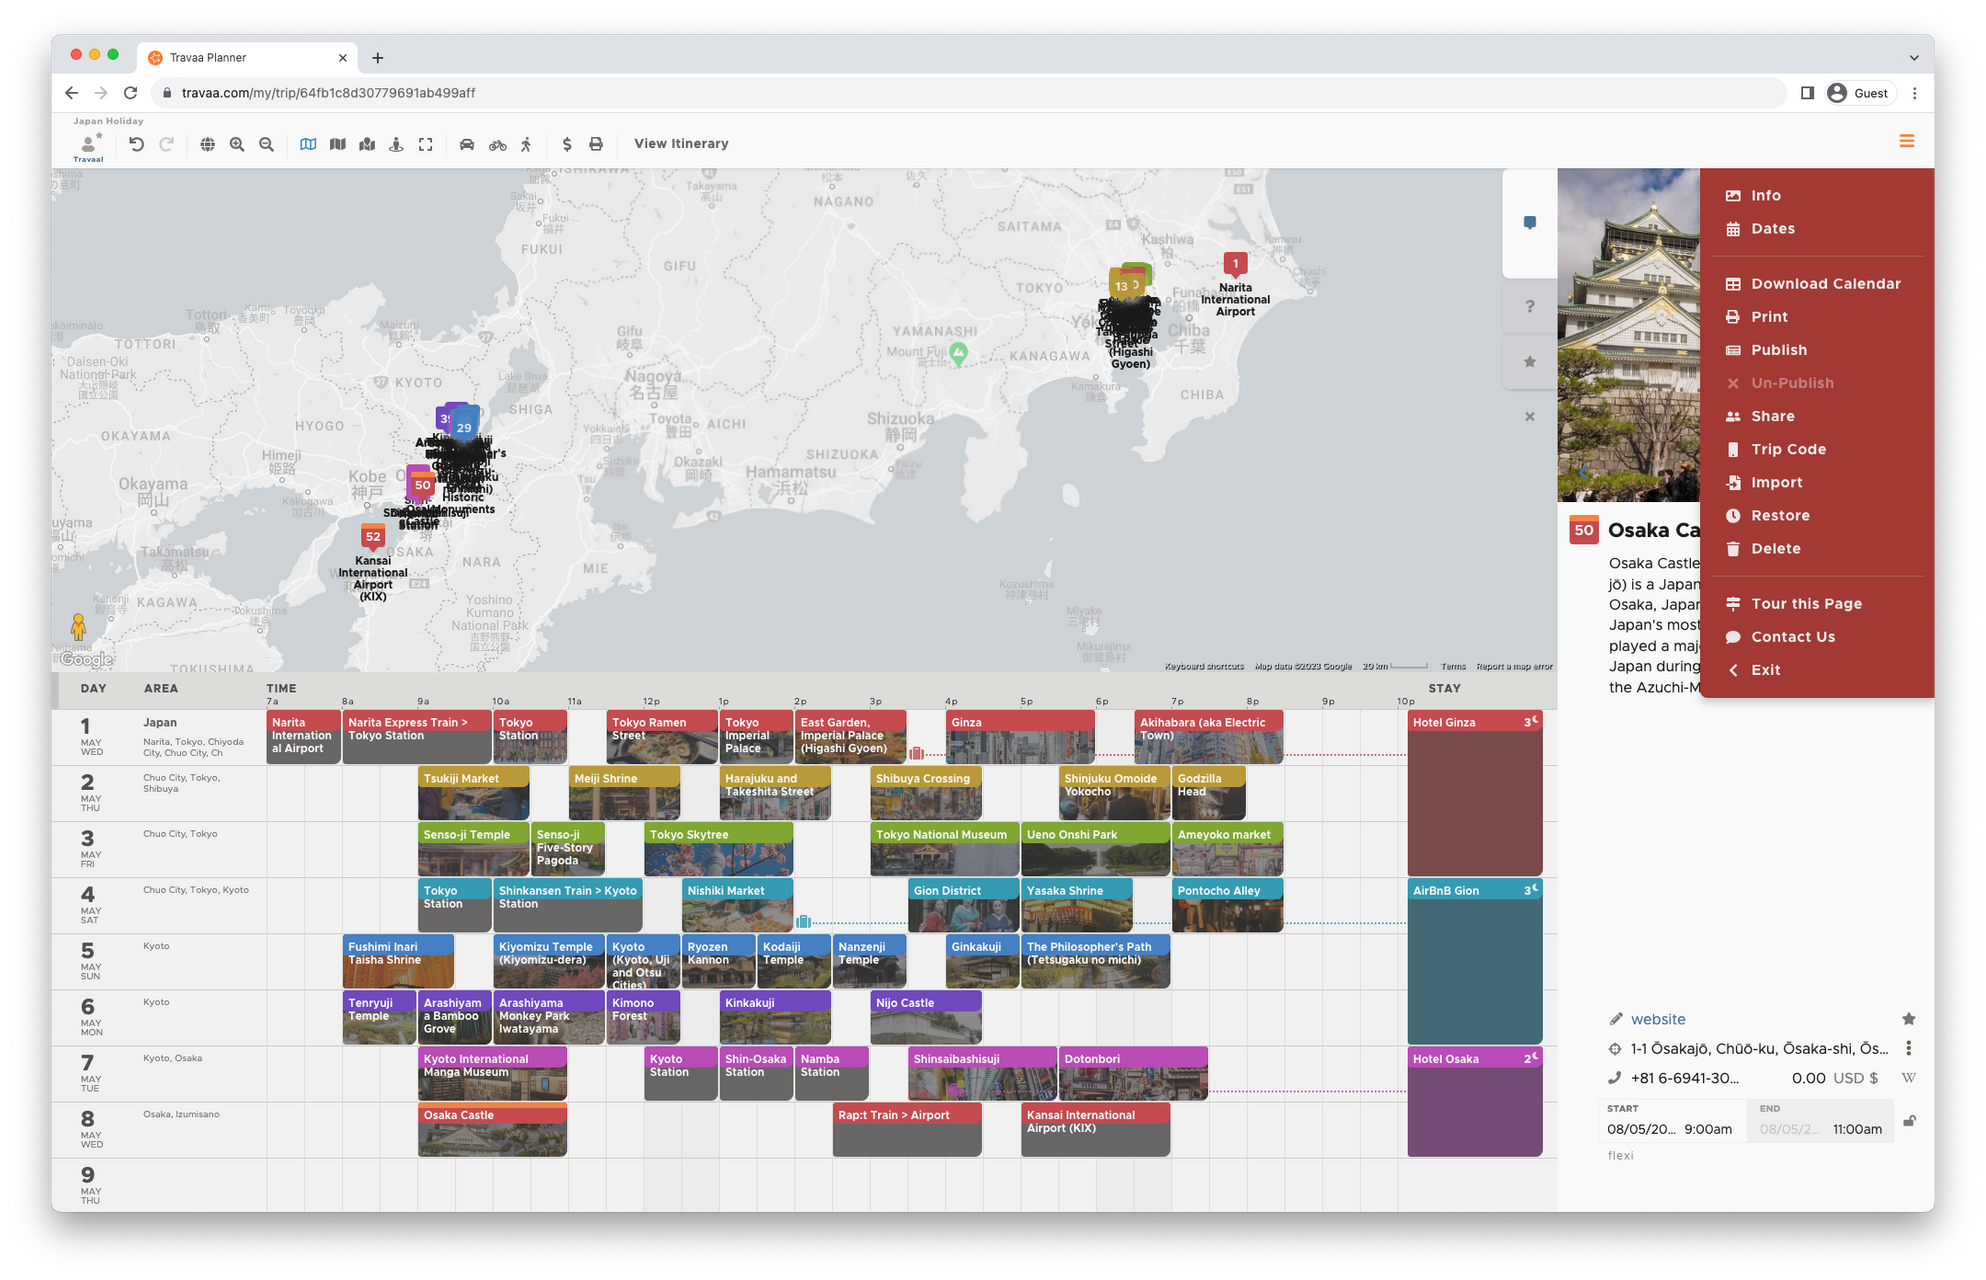
Your itinerary will automatically save itself in the cloud after any updates. Use the undo and redo buttons to unwind any changes you have made.
Finally, to exit this trip, simply click the back button on your browser, or use click Exit in the top-right red menu panel.
That's it. You're super qualified to use this tool!
Update your trip itinerary until maximum satisfaction is achieved. :)
2. Travaa Phone App
Got a decent smart phone? Like to use it as a GPS location navigation device?

Get the Travaa app from the Apple and Android stores.
Sign in and view your trip itineraries and notes from this phone app.
The map in the app shows the exact locations of all the places in your itinerary. The blinking blue dot shows where you are. The app uses GPS location info which comes from the satellites in the sky. No WiFi or data roaming is required for this, but you will need WiFi to cache (access) the map and pictures first (say, before heading out from your accomodation/room at the start of the day).
The app links to Apple / Google's Directions feature. Tapping on a place marker on the map will launch Apple / Google Map Directions. This provides detailed route directions to get to the place from where you currently are. For this, you will need to have data roaming or carry a Pocket WiFi with you.
When you arrive at a place, open the app and give it a few seconds to sense you location. You will see your notes for that place pop up.
Simple.
* * *
Happy Travels!
p.s. Got questions? . :)